[Tutorial] Dark Storm Scene Photo Manipulation
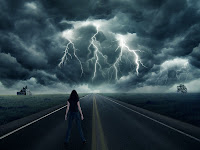 In this Photoshop Tutorial l will show you how to create a dark storm scene. We will come through steps with combining different stock images, using brushes, adjusting colors, making light and shadow in a proper way.
- Resources needed:
- Meadow LINK
- Road LINK
- Model LINK
- Sky 1 LINK
- Sky 2 LINK
- House LINK
- Tree LINK
- Lightning Brushes LINK
Click The Images To Enlarge them for proper instructions
 Step 1:
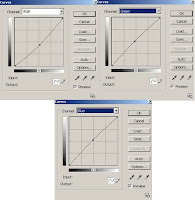
Open meadow stock. First i use some adjustment layers to change color of meadow: Curves:
Color Balance:
Hue/Saturation:
We have:
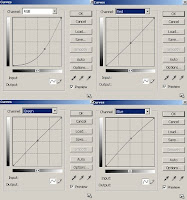
 We will add some adjustment layers with Clipping Mask> for road to make its color and lighting fit background.
Curves:
Hue/Saturation:
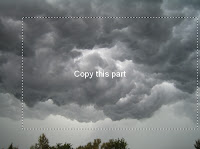 Step 3:
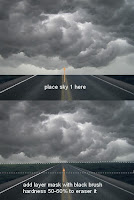
Open sky 1 stock. Choose selected part, copy it and drag into our document, resize to fit the size of picture:
Then i use a Curves layer with Clipping Mask for sky 1:
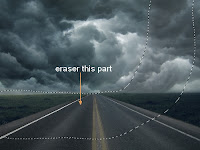
 Step 4:
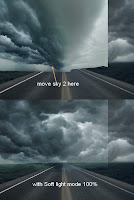
Open sky 2 stock, cut sky only and situate it on the left side of sky 1 layer. Change the mode to Soft light 100% and add layer mask to hide rough edge of it:
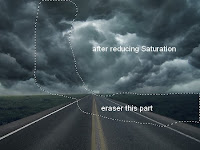
Duplicate sky 2 layer, choose Edit-Transform-Flip Horizontal, move it to the right side of sky 1 layer. Use brush on layer mask to hide any rough edges you've noticed. Then use Hue/Saturation layer ( Clipping Mask) with same settings for sky 2 layer:
 Step 5:
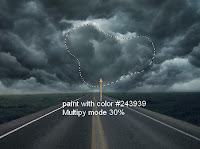
Create a new layer on the top. Use soft brush, color #243939 to paint on center part of sky, then set this layer to Multiply 30%:
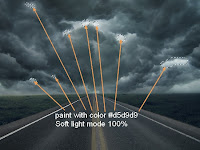
New layer again, use brush with color #d5d9d9, paint on bright parts of sky. Put it as Soft light 100%:
 Step 6:
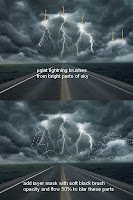
Make a new layer, set foreground color to white. Use random lightning brushes painting on bright part of sky. Then add Layer Mask and use soft black brush, opacity and flow about 50% to blur the bottom of lightnings to make them integrate better with sky:
Step 7:
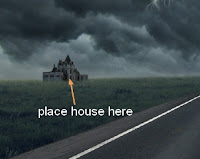
Extract house and place it near the horizon, remember to downsize it:
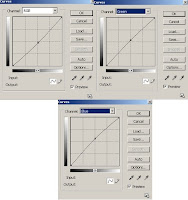
Add a Curves layer with Clipping Mask:
 Create a new layer with Clipping Mask, use soft white brush painting on the part of house which catch the light from sky. Set this layer to Soft Light 70%. New layer with soft black brush and paint on the rest part of house which does not meet the light of sky. Change the mode to Soft Light 40%:
 Step 8:
Open tree stock. As it has transparent background, you just move it into our canvas, re-size and position it at the right side of horizon, add Layer Mask to erase tree root:
Add a Curves and Hue/Saturation layer with Clipping Mask:
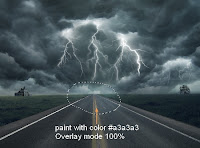 Step 9:
Make a new layer on the top. Use Soft Brush, color #a3a3a3, painting on the top of road which meet horizon. Change the mode to Overlay 100%:
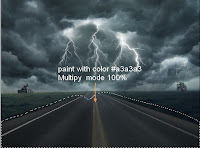
New layer, use brush with same color painting on the rest of road, then put it as Multiply 100%:
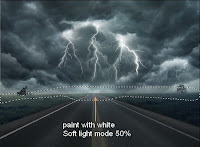 I use a new layer and soft white brush to paint on the part around horizon. Change the Mode to Soft Light 50%:
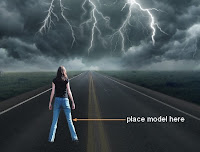
Step 10:
Cut the model and place her on the road.
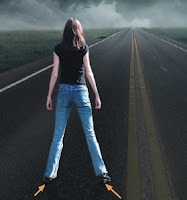
As we see, light on background comes from in front of model (but not much) so model must have a very soft shadow behind. To do it, duplicate model layer, choose under layer, press Cmd/Ctrl+U , down the lightness to 100%, apply Flip Vertical and move under model feet. Change the mode to 20% and apply Gassian Blur with 2 px:
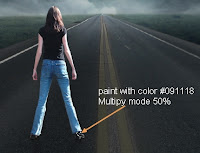
Also i make a new layer under model layer. Use black brush with very small size and Hardness about 60% painting under model feet:
Step 11:
You can see light on model in original picture comes from right to left and it's very strong. To fix it i use many layers for each light part. First create a new layer above model layer with Clipping Mask, use brush with color #091118 painting on the right shoe to darken light there. Set this layer to Multiply 80%:
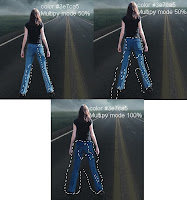
Now we will fix the light on jeans. Create three layers (Clipping Mask), use brush with color #3e7ca5 painting on bright parts of jeans. Set two layers to Multiply 50% and another to Multiply 100%:
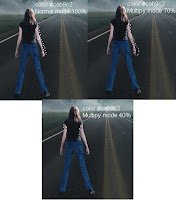
Step 12:
To solve the light on arms, create three layers and take brush with color #cab9c2 painting on these parts. I set the first layer to Normal 100%, two rests with Multiply Mode 70% and 40%:
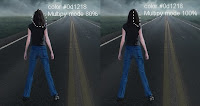
To remove the light on model hair, i use two layers, take brush with color #0d1218 painting on bright part of hair ( right part). Change the mode of two layers to Multipy 80% and 100%
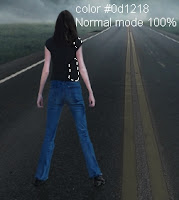
I use a layer and choose brush with color #0d1218 painting on bright part of model pull and keep Normal Mode 100%:
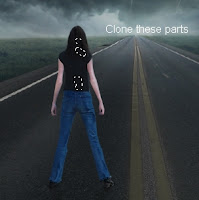
I also make a new layer, use Clone Tool to fix some parts on model pull and hair:
Step 13:
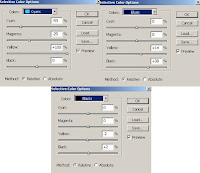
Now we use some adjustment layers (Clipping Mask) to make model color fit background. Selective Color:
Hue/Saturation:
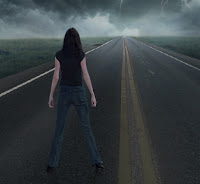
This is what we have so far:
Step 14:
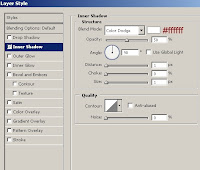
To create a light on model (comes from in front), choose model layer, and apply Inner Shadow:
Step 15:
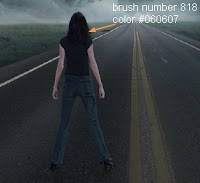
In this step we will make flying hair. Create a new layer, use hair brush, number 818 and color #060607 paint on right side of model head like this:
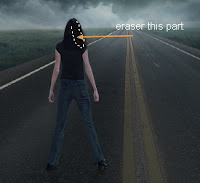
Add layer mask to erase the part shown below:
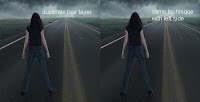
Duplicate this hair layer. Do the same with left side of model head:

Step 16:
The last step we do is to color picture. I use a Gradient Map and Brightness/Contrast layer. Gradient Map and set this Gradient Map layer to Soft light 50%.:
Brightness/Contrast:
Add layer mask to remove the contrast con meadow and model:
Final Result:


![[Hack] Fifa 14 v1.0.2 for iPhone/iPad/iPod NO JB](https://blogger.googleusercontent.com/img/b/R29vZ2xl/AVvXsEh3DLN_lhqJ62My7UH5erbJNyGNNaU660uTpwmIsPpOYFXUqvaZNL6LGlhZAjntjPnTe50mfd2yqnRFlyz-S3GDrjlv6OdmMCL493dUParZhydZtrW_YnvIdnM-E2KdJ_IuymqcrjECii3n/s72-c/fifa+14+unlocked.jpg)

0 comments: