How to Create a Breathtakingly Artistic Winter Horse Illustration in Photoshop
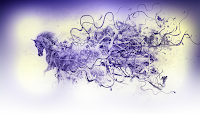 Learn how to create this amazing photo manipulation with a variety of blending techniques, custom brushes, and more. This intermediate-advanced tutorial also comes with its own set of raw ink splatter scans so that you can practice creating your own Photoshop brushes. And of course, the full layered PSD is included as well.
Click On Images To See Proper Instructions
Tutorial Resources
 Step 1
In this step I will show how to create custom brush. For this I used scan of splashes made with ink.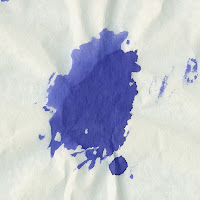 Use the Crop Tool (C) (by pressing shift key you will select square)
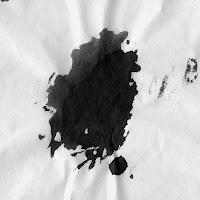 Add a Black & White Adjustment Layer by going to Layer > New Adjustment Layer > Black & White. Set to “High Contrast Red Filter”
Go to Channels panel and duplicate Red Channel. Right click on Red channel and chose Duplicate channel.
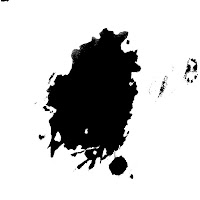 Go to Image/Adjustments/Levels. Move the sliders so that the splatter was dark and the background white.
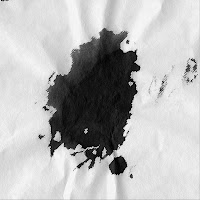

Load selection
Press Ctrl then click Red channel.
Invert selection
Select/Inverse (Shift+Ctrl+I). Before you come back to Layers panel don’t forget select RGB channel.
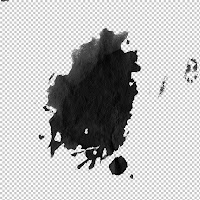 Go to Layers panel select splash layer then press Ctrl+J you will cut your selection.
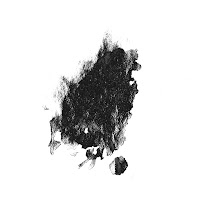
Try to use different ways for selection like Color range or even Magic Wand Tool.
Color range (example)
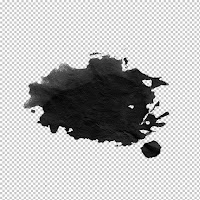
Now clean up parts which you don’t like. For this you can use Eraser tool (E) Also if you like change splash position.
Create brush.
I use 2500x2500px 300dpi canvas for my brushes. Go to Edit/Define Brush Preset.
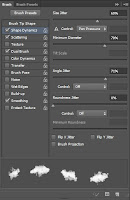
Please see my brush settings.
Step 2
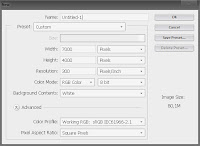 Create new document (File > New or Ctrl/Cmd+N)
Add Horse photo.
Folder: Resources/Horse.psd
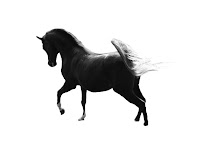
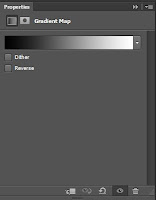
Add a black to white gradient map by going to Layer > New Adjustment Layer > Gradient Map.
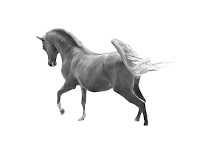
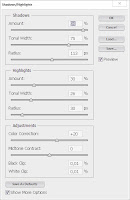
Right click on your layer and choose “Convert to Smart Object”. Now we are ready to add some Shadow/Highlights (Image > Adjustments > Shadow/Highlights).
Settings:

Click on the “Add layer mask” icon on the bottom of your Layers palette.
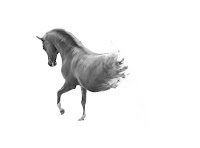

Select the Brush tool (B) then paint with black # 000000 on your layer mask. Usually, I just use the first default brush. Brush opacity 50%.

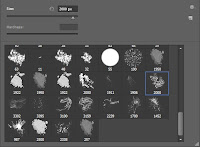
Use this brush and paint on layer mask with white color.
Just move brush above the place you want to uncover and click once or twice.
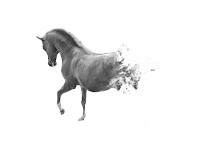
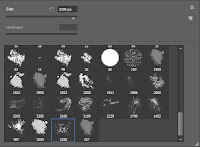
Use this brush and paint on layer mask with white color.
Step 3
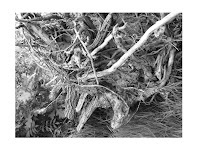 In this step you will apply a Roots photo layer (Folder: Resources/IMG_5602) to the Horse layer.
Add roots photo above Horse layer.
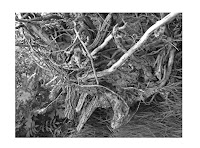
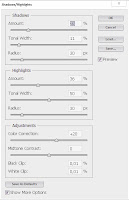
Right click on your layer and choose “Convert to Smart Object”. Now we are ready to add some Shadow/Highlights (Image > Adjustments > Shadow/Highlights).
Settings:
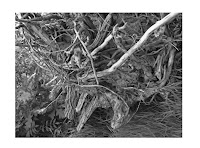
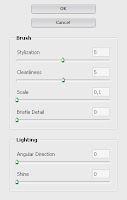
Use Oil paint filter. Filter/Oil paint.
Settings:
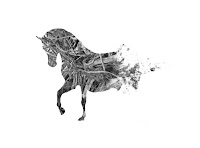

Apply a Roots photo layer to the Horse layer
To do this, press and hold Ctrl/Cmd and point your cursor above the red line. You will see an icon – click on it.
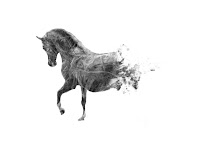
Change blending mode on the Roots layer to Soft Light
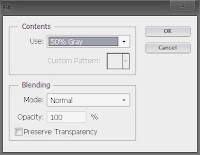
Above roots layer add new layer (Layer > New > Layer or Shift+Ctrl+N). Now go to Edit > Fill, set the contents to 50% Gray, then click OK.
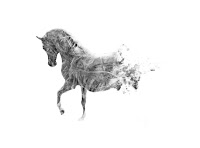
Set the layers blending mode to Overlay and opacity to 100%. Now use Dodge Tool (soft brush) and paint on this layer. For the brush settings, I used an exposure of around 20-50%.
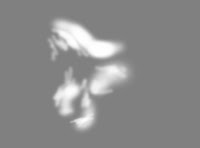
This is the layer set to Normal
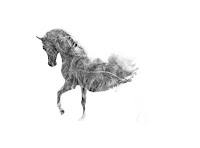
By mistake I deleted layer with this Horse version, so my horse looks like this.
Layers structure at this stage.
Info: Cienie / Podświetlenie mean Shadow/Highlights
 Step 4
In this step I will add more roots. It is really hard to repeat all painting steps, so I will show how I do this in the following example.Open IMG_5598 Folder: Resources/IMG_5598
 Add layer mask.
Click on the “Add layer mask” icon on the bottom of your Layers palette.
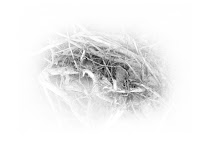
 Use soft brush, opacity 50% and paint with black # 000000 on your layer mask.
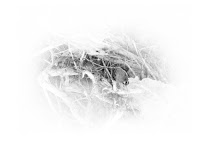
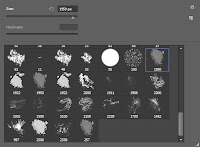 Use this brush, opacity 100%, and paint with black # 000000 on the layer mask.
Use the same brush, but this time paint with white #ffffff on the layer mask.
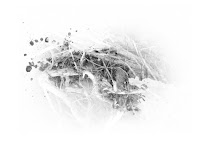
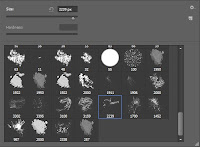
Use this brush, opacity 100%, and paint with white # ffffff on the layer mask.
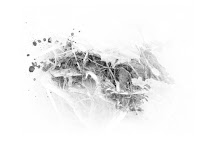
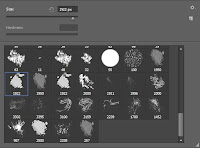 Use this brush, opacity 100%, and paint with black # 000000 on the layer mask.
Now when you know how to create this, I will start add roots to the image.
IMG_5598_ver.01,02,03,04

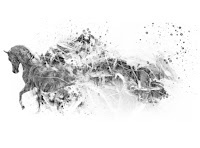
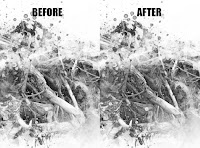 Right click on the layer and choose “Convert to Smart Object”. Now we are ready to add some Shadow/Highlights (Image > Adjustments > Shadow/Highlights).
Settings:
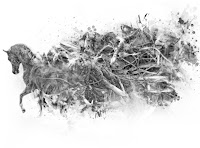
IMG_5603
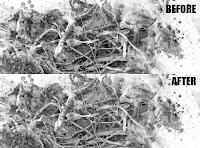
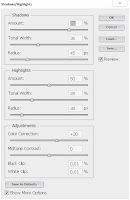 Right click on the layer and choose “Convert to Smart Object”. Now we are ready to add some Shadow/Highlights (Image > Adjustments > Shadow/Highlights).
Settings:
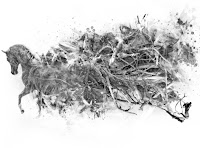 IMG_5596.psd
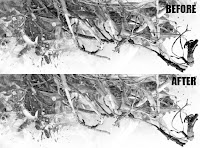
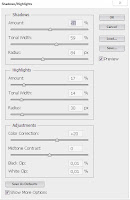 Right click on the layer and choose “Convert to Smart Object”. Now we are ready to add some Shadow/Highlights (Image > Adjustments > Shadow/Highlights).
Settings:
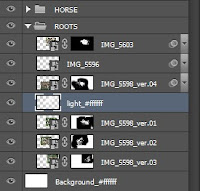 Between roots layers add new layer (Layer > New > Layer or Shift+Ctrl+N).
Use soft brush and paint with white # ffffff, it will give us some lights. Brush opacity 30-50%
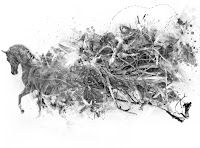 Screen with selection of the light layer.
 Add another light layer between roots layers. (Layer > New > Layer or Shift+Ctrl+N).
Use soft brush and paint with white # ffffff. Brush opacity 30-50%
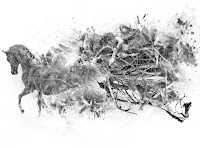 Screen with selection of the light layer.
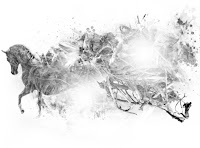
Above Horse folder add another light layer. (Layer > New > Layer or Shift+Ctrl+N).
Use soft brush and paint with white # ffffff. Brush opacity 30-50%
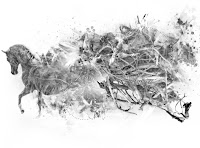
Change layer opacity to 20%
Screen with selection of the light layer.
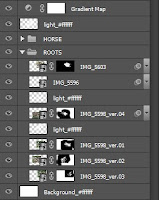
Layers structure at this stage.
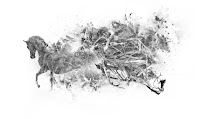
The whole image at this stage.
Step 5
 In this step I will paint Horse hairs. For this I will use Smudge tool.
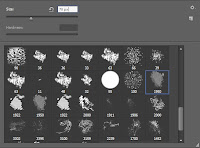
Use this brush. Brush size 70px.
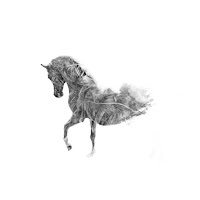
Before you start painting turn off roots layers, we need only horse visible.
One more thing, we need to apply image, to do this add new layer (Layer > New > Layer or Shift+Ctrl+N) then go to Image/Apply image. Don’t change anything, just click OK.
Now we are ready to paint.
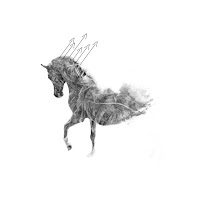
Paint in the arrows direction.

Quick steps.
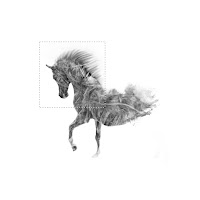
Use Rectangular Marquee Tool (M) make the selection, then press Ctrl+J and cut out the head.
 Click on the “Add layer mask” icon on the bottom of your Layers palette.
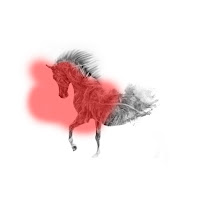 Select the Brush tool (B) then paint with black # 000000 on your layer mask.
Mask view.
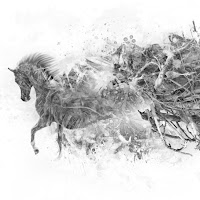
When you finish, change layer blending mode to Darken
Step 6
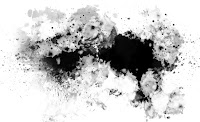 Add dirty background.
Above Gradient Map layer add new layer (Layer > New > Layer or Shift+Ctrl+N). Layer opacity 10%. Layer name splash.
Now use custom brushes and make the background dirty J
This layer set to opacity 100%.
 Next, we’re going to add a Levels adjustment layer (Layer > New Adjustment Layer > Levels).
Here are the settings:
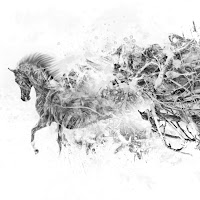
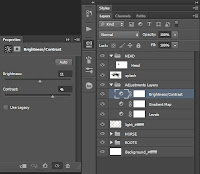
Next, we’re going to add a Brightness/Contrast adjustment layer (Layer > New Adjustment Layer > Brightness / Contrast).
Here are the settings:
Step 7

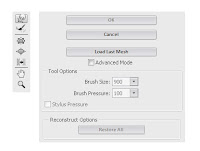 In this step we will create the lines. For this I will use Root picture. Folder Resources/Root.psd
Now use Liquify (Filter/Liquify).
Brush settings.
Steps.
Now we are ready add some lines to the image.
Steps
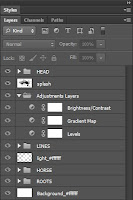 Layers structure at this stage.
Step 8
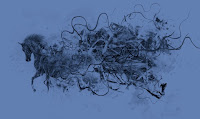
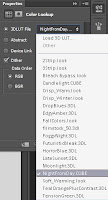 Time to add some colour, as first I will use Color Lookup (Layer > New Adjustment Layer > Color Lookup).
Settings:
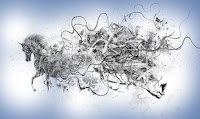
Use huge soft brush and paint with black # 000000 on the layer mask. Brush opacity 50-70%
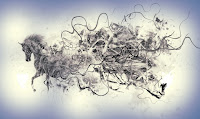 Above Color Lookup layer add Gradient Map layer by going to Layer > New Adjustment Layer > Gradient Map.
Layer set to Color Burn, Opacity 10%
Use this gradient.
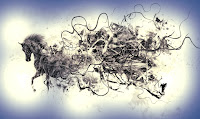
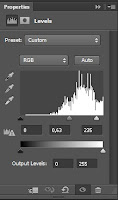 Above Gradient Map create Levels adjustment layer (Layer > New Adjustment Layer > Levels)
Settings:
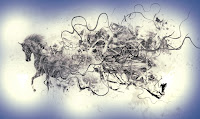 Use huge soft brush and paint center of the image with black # 000000 on the layer mask. Brush opacity 30-50%
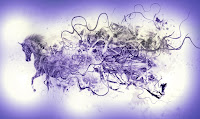
Above add new layer (Layer > New > Layer or Shift+Ctrl+N). Blending mode Color, opacity 50%
Use huge brush and paint with color #7c59e0.
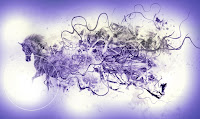 Above add new layer (Layer > New > Layer or Shift+Ctrl+N). Blending mode Linear Dodge.
Use huge soft brush and paint over Horse leg, color #faf4da.
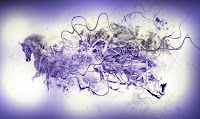 Now I want to make borders darker.
Above add new layer (Layer > New > Layer or Shift+Ctrl+N). Blending mode Subtract.
Use huge soft brush and paint border with color #eae2d4. Brush opacity 10-20%
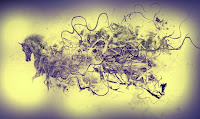
Above add Solid Color layer (Layer > New Fill Layer > Solid Color) Layer blending mode set to Darken, layer opacity 70%, color #f6ff68
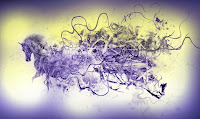 Use huge soft brush and paint bottom of the image with black # 000000 on the layer mask. Brush opacity 30-100%
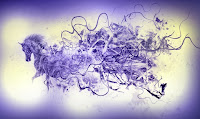 Above add new layer (Layer > New > Layer or Shift+Ctrl+N). Blending mode Color.
Use huge soft brush and paint top of the image with color #291988. Brush opacity 50%.
If you paint to much use Eraser Tool (E).
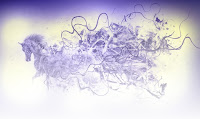
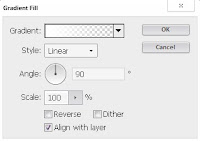 I decided that the bottom of the image should be white, for this I will use white # ffffff Gradient layer (Layer > New Fill Layer > Gradient)
Settings:
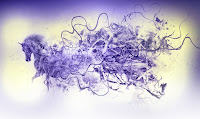 Use huge soft brush and paint bottom of the image with black # 000000. Paint of course on the Gradient layer mask. Brush opacity 30-50%
Layers structure.
Step 9
 In this step I will make drops, then I will add them to the image.
Use Pen Tool (P) and make shape like this. Shape color # ece8d7
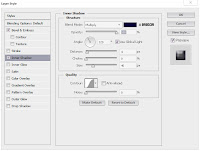
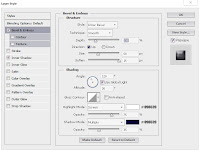 Now I will add some effects. Open Layer Style window by double click on the shape layer.
Settings:
Should Look Like one below
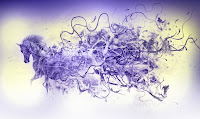
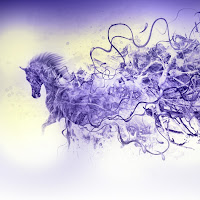 Add drops to the image.
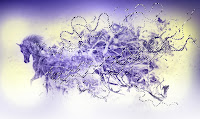 Make a copy folders with LINES and DROPS (right click on the folder then chose Duplicate group) and merge them (select folder then press Ctrl + E)
Now merge LINES and DROPS and load selection (select layer then press Ctrl and click on the layer)
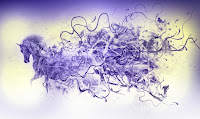 Select Gradient fill layer and paint on the layer mask with black # 000000
You can hide selection by clicking Ctrl + H
 Layers structure.
Step 10
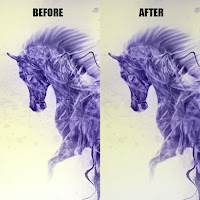
 Apply the image, add new layer (Layer > New > Layer or Shift+Ctrl+N) now go to Image/Apply image. Don’t change anything, just click OK.
Duplicate layer Ctrl + J
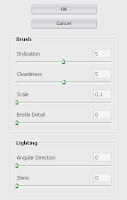
Now go to Filter/Oil paint
Settings:
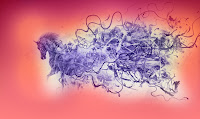
I don’t want this effect on the background so add the layer mask and paint with black to show layer without effect.
Mask view.
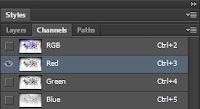
Apply the image, add new layer (Layer > New > Layer or Shift+Ctrl+N) now go to Image/Apply image. Don’t change anything, just click OK.
Select this layer then go to the Channels panel, select Red channel then make selection Ctrl + A, and copy the channel Ctrl + C
Before you come back to the Layers panel don’t forget select RGB channel.
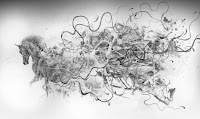
Now go to Layers panel and press Ctrl + V
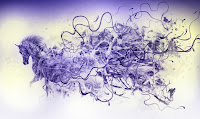
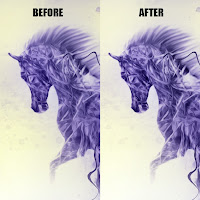 Change blending mode to Soft Light, layer opacity 50%
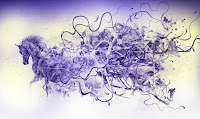
Apply the image, add new layer (Layer > New > Layer or Shift+Ctrl+N) now go to Image/Apply image. Don’t change anything, just click OK.
Now sharp the image, go to Filter > Sharpen > Sharpen more.
Step 11
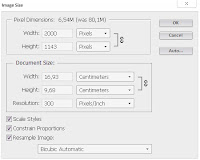 Final touch up.
Because my PC is “dying” I will change picture resolution for this step.
Use Sharpen Tool
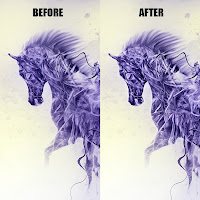
Paint with soft brush.
Some close-ups and Final View
Previous Tutorial Next Tutorial




![[HACK] Zynga Poker (All Versions) for iPhone/iPad/iPod](https://blogger.googleusercontent.com/img/b/R29vZ2xl/AVvXsEirf4lbKeSZLudbvce60dxPBqrw8TM5Pc62GkHKK-oAZ23PJtQUYIKigVpqXxzErkC5yiNWWCpuGW8RLvMnCZDtV2Rhlg6E_yNAZ2Ho8Ws87_uKZxPgUWdR-nxdpZDaW722mY9j9WgKCLqv/s72-c/Zynga+Poker+Hack.jpg)
![[Hack] Giant Realms : Battle Arena v1.4.3 No Jailbreak for iPhone/iPad/iPod](https://blogger.googleusercontent.com/img/b/R29vZ2xl/AVvXsEiCsbq7cpJiQEwaiLZ6OPUS7SKuZCSDqEtJa1NgyUPD24fPUKxGgxQdh40b3g8LKySgBFwFHhtXoCNnM-Yf0oT2x7QUZFi_Jc3ziFXKv-zHBR9vqnhD3GZ20feaGyVF6SdceMSxtXwsb18v/s72-c/IMG_4782.jpg)
![[HACK] Grand Theft Auto: Vice City NO Jailbreak For iPhone/iPad/iPod](https://blogger.googleusercontent.com/img/b/R29vZ2xl/AVvXsEi604i0bL83nZguY6xHcEEkDAfv9NRg32luHa4vGIpvenFwFSa5ztj30uUcEs_2kInDIL3pnI4GFbikQ8yrJz28wa6bUdcF8ugVTum0S9QQdiiLvobz79Jfs7rzeBP18Lxt41ACg93g_hsJ/s72-c/vice+city.jpeg)
![[Bot] Clash Of Kings PC](https://blogger.googleusercontent.com/img/b/R29vZ2xl/AVvXsEj58vDpB93VDuH8Pr1l_ujW-kacU-snDKHjjBHAlm-bHVLtq7e3Kawu5W7ahpm5ERSFyE9__0rsJmCC-s_lCORyaF7XT0JB7EQoAi5CAX9_9VGFV1lYmtMEd_MJaBMV-m33vWOTRPzEy4lB/s72-c/unnamed.png)
nice to meet you
ReplyDeletethis tutorial very best
may i use your resources for publishing an event?
hope you can approve my request
thanks
You can
Deletebut please provide credits to original creator: Dariusz Markiw