Create a Romantic and Warm Portrait Photo Manipulation in Photoshop
 Create
this warm and sensual photo manipulation by combining photos, blending
them, and adding a warm color effect. This tutorial will cover advanced
photo manipulation techniques such as quick masking, color matching, and
nondestructive dodging and burning.
Create
this warm and sensual photo manipulation by combining photos, blending
them, and adding a warm color effect. This tutorial will cover advanced
photo manipulation techniques such as quick masking, color matching, and
nondestructive dodging and burning.Preview of Final Results
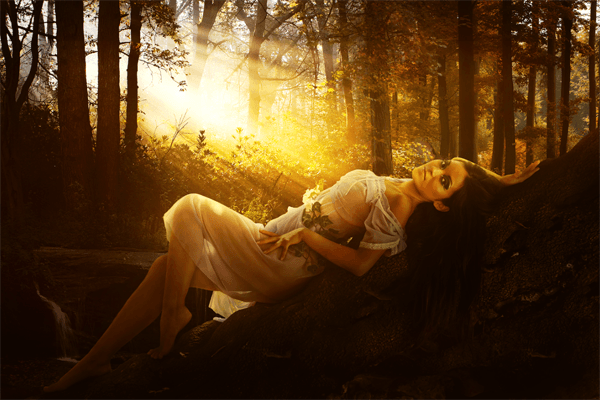
Tutorial Resources
- Model – Yamifantasy
- Forest – Needanewname
- Waterfall – Alissadstock
- Autumn Forest – Kuschelirmel-stock
Step 1
Open the model stock.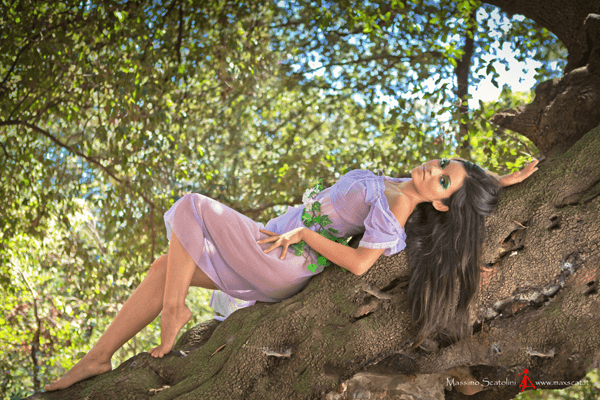
Step 2
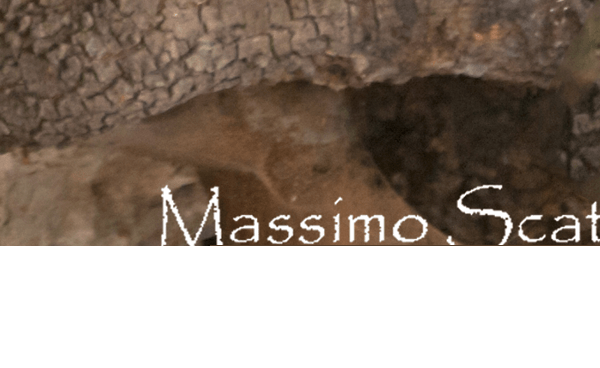
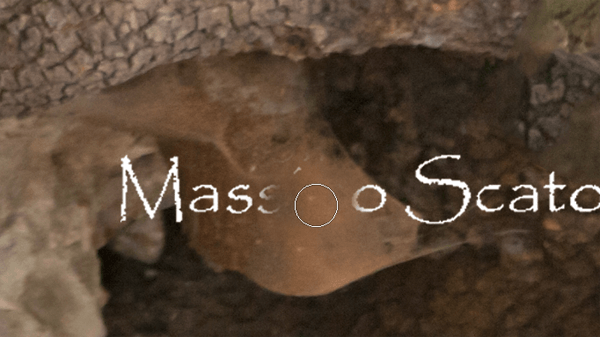
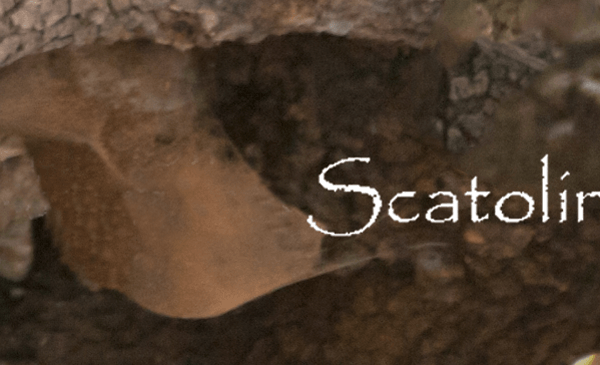
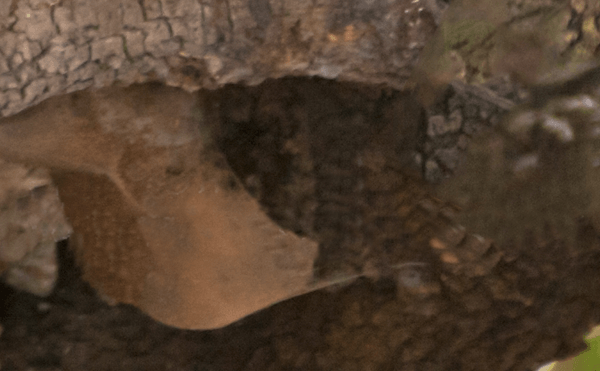
As you can see the picture has the photographer’s tag at the bottom. We are going to remove it! Let’s grab the Clone Stamp Tool. Click the ALT button close to the area you want to clone. A kind of viewfinder will appear. Now brush over the area to clone.You will have to do it several times until the tag is removed. Remember to alt click close to the areas you want to recover or the result will be fake.
Step 3
Let’s go to select the part of the image we want: the lady and the tree. I did it with the Quick selection tool but you can do it with your favourite tool.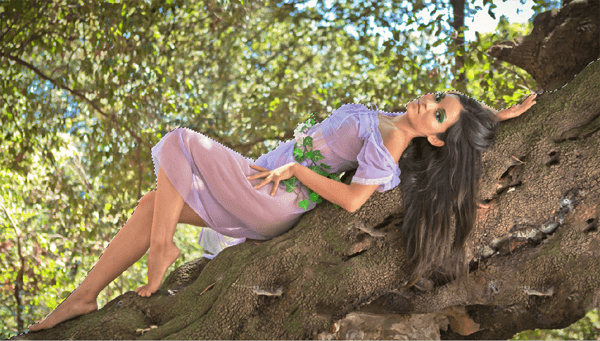
Step 4
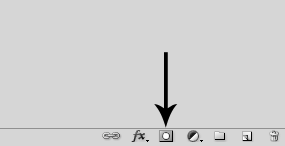
This is not a perfect selection so we will refine it. Click the Mask Button I am showing you below.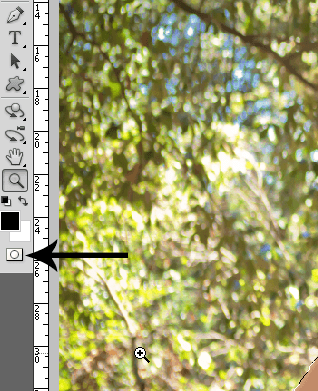
Step 5
Below you can see what happened. The unwanted part is colored with red. Now we are going to refine the selection with a normal Brush. You will paint directly on the image with black or white. Painting with black will exclude from the selection the parts you brushed over. Painting with white will do the opposite thing. When you are happy with your selection you click the Mask button once again and you’ll have your perfect selection.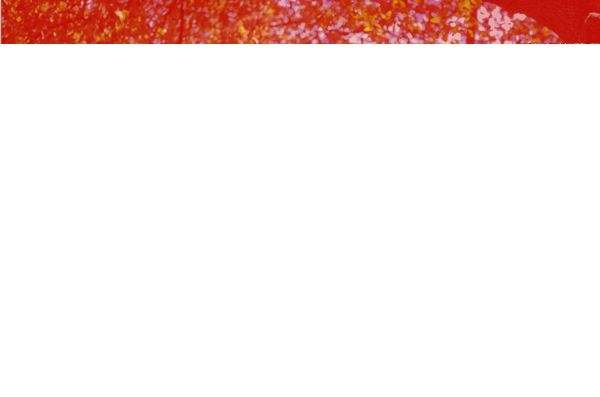
Step 6
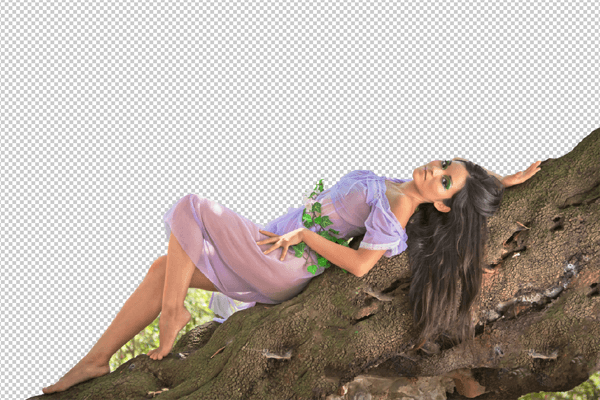
Now you have to create a mask so that the unwanted part will disappear. To do so just click the Clipping Mask button and you will obtain what you want!TIP: To have a transparent background remember you have to unlock the Model layer or you will have a colored background.
Step 7
Now you have to do the same thing to delete the part close to her legs and at the bottom of the tree. Go over the mask we created for the Model layer and paint with black the unwanted part!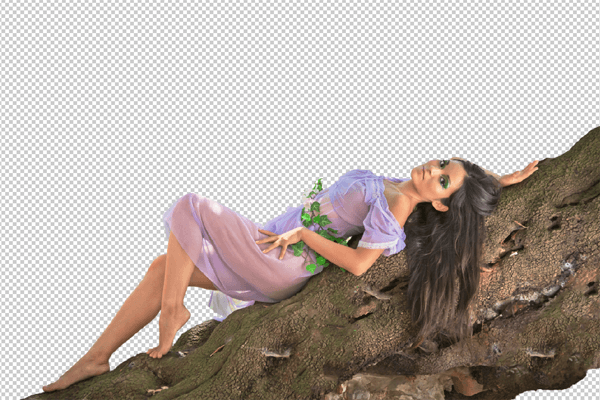
Step 8
I didn’t like the bottom part because I think it can catch people eye. Instead I want that people look at the model. So I painted with white on the clipping mask to make that part visible again. Then I cloned it like I did in Step 2.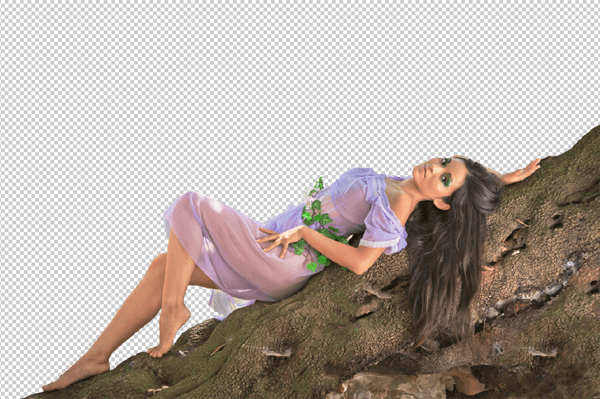
Step 9
Open the Forest stock and place it under the Model at the right top of the canvas. (I stretched it a bit).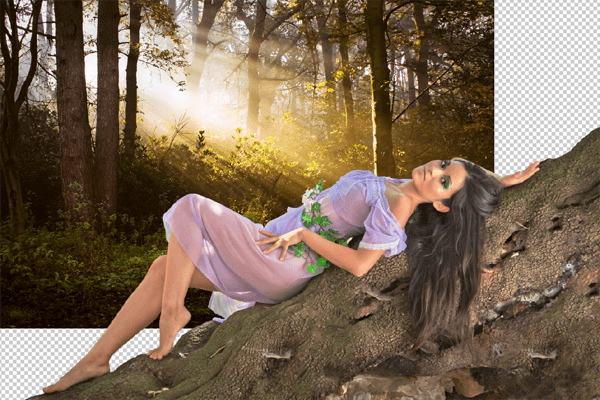
Step 10
Let’s continue to build the scene. Open the Waterfall stock and place it like I did in the image below. It goes above the Forest Stock.
Step 11
Now we have to mask the waterfall. Add a Clipping Mask to the waterfall layer and with black paint over the unwanted part.TIP: Paint with 100% Opacity the edges of the image and reduce the opacity where you want to blend it with the Forest stock.
Below you can see my Clipping Mask and the result.


Step 12
Now that we have blended the image we have to fix its lights/shadows and colors because it’s too greenish and bright.To fix the Lights and Shadows add a Hue/Saturation adjustment (only for the Waterfall stock) and put these settings:
- Master 0 0 -44
- Yellows 0 14 -26
- Cyans 0 -35 -100
- Shadows 6 -1 -10
- Midtones 2 -10 -8
- Highlights 0 -7 -12


Step 13
Open the Autumn Forest stock to complete the scene. Place it above the Waterfall stock and its adjustments.
Step 14
Also this stock has to be blended with the rest. Like we did before we will add a Clipping Mask to it and paint with black the unwanted parts. Below you can see my Mask and my result.

Step 15
Once again we have to fix the colors and the lights. Add a Hue/saturation adjustment only for this layer putting these settings:- Master 0 0 2
- Reds 0 -31 17
- Yellows 0 -19 -8
- Greens 0 -12 -58
- Shadows 7 4 1
- Midtones -4 0 -5
- Highlights 0 3 -5


Step 16
Now our scene is complete but the model doesn’t fit it. Let’s blend her! Add a Hue/Saturation adjustment only for the Model layer with these settings:- Master 0 -26 -17
- Green 0 -40 -40
- Shadows 12 0 -10
- Midtones 20 0 -16
- Highlights 9 0 -20


Step 17
Now everything is fixed! Let’s give the scene more intensity. Add a Gradient Map above every layer. Set it to Soft Light with Opacity and Fill at 80%.

Step 18
The light source is strong but the light around is not. That’s why we have to add a bit of luminosity. Create a new layer above all layers and set it to Hard Light. With color #d0a945 paint some light. I used a soft round brush. Below you can see where I painted. (The black background is only on the purpose to show you!).

Step 19
I wanted to give the scene a more dramatic look. So I gave strength to the light source. Create a new layer. With the color #d0a945 paint some light over the light source. I used a soft round brush at 40% Opacity. Then set the layer to Overlay with Opacity and Fill at 80%.

Step 20
Now that the light is stronger also the shadow should be stronger. So let’s add some shadow! We will do it for the model layer first and then for the rest of the background. Add a Curves adjustment only for the Model (above the Color Balance one). Drag the Curve down (Output 78; Input 151). Set the Curves to Luminosity. The whole model layer will get darker.
Step 31
We don’t want the curve to effect the whole layer. That’s why we will paint with black on the curves mask where we don’t want the darkness.

Step 32
The shadow isn’t fixed yet. We need more darkness. Add a new layer above the curves one (again only for the model layer). Set the layer to Multiply. Pick the color #2d1708 and paint some shadows in the same area. I did it with a soft brush with Opacity between 20% and 40%. Below you can see where I have painted the shadow.

Step 33
Now we have to fix the shadows in the background. Add a Curves adjustment under the model layer, so that it will affect only the scene in the background. Drag the curve down (Output 111; Input 143). Set the curve to Luminosity. Like before the curve affected the whole scene. The background is now darkened, but we want only one part to be darker. Invert the curve (Mask > Invert) and everything is like it was before. Now with white paint where you want the darkness to appear.


Step 34
Now that the shadows are done let’s add a bit of light on the model. Create a new layer only for the model (Above the one you created for the shadow). Set it to Hard Light with Opacity and Fill at 70%. I picked the color #f6d57b and painted some light on the edges of the model.For the edges of legs you have to pick a darker color because the light doesn’t hit them directly. (Something like #ecb545). Below you can see where I painted the light. (Obviously being the layer bound only to the model, the light won’t go in the background. This is only to show it to you).


Step 35
Time to work more on the scene. First of all I want people to focus on the model. That’s why we are going to add a kind of Vignette. Create a new layer above all layers and fill it with 50% of Gray (Edit > Fill > 50% Gray). Set the layer to Soft Light with Opacity and Fill at 80%.Our aim is to darken the edges of the canvas and to give more light in the center. So we will paint with black on the edge and with white in the center. I did with a soft brush with 50% Opacity. Below you can see my Vignette and the result.


Step 36
Let’s give the scene warmer tones.Add a Selective color adjustment with these settings:
- Reds: 9 0 0 7
- Yellows: -7 2 17 9
- Blacks -6 0 4 -2

Step 37
Once again warmer tones. Reddish to be more precise. Add a new layer and set it to Hard Light with Opacity at 50% and Fill at 80%. Pick the color #c45f25 and paint some red light. Use a very low Opacity for the brush. Below you can see my layer.

Step 38
Now that we added a bit of red light we have to compensate it with shadow. Create a new layer and set it to Soft Light with Fill 56%. Pick a soft brush with low opacity and paint on the edges with black. Below my layer and the result.

Step 39
Now add a Curves adjustment to give more luminosity to the scene. Drag it so that you will have these settings:- Output 140 and Input 111

Step 40
Last adjustment I made was adding a Color Balance.Settings:
- Shadows -5 0 -3
- Midtones 0 0 0
- Lights 0 0 -15

Step 41
If you want you can add a bit of sharpness to the final result. Make a stamp of all layers by clicking Shift + ALT + CRTL + E. Go to Filter > Sharpen > Unsharp Mask- Settings:
- Amount 148%
- Radius 2
- Threshold 0

Final Results
![final-results[1] final-results[1]](http://photoshoptutorials.ws/wp-content/uploads/2013/07/600x400xfinalresults1.png.pagespeed.ic.l6I2-O_QGX.png)


![[HACK] Sing! Karaoke by Smule v3.0.1 For iPhone/iPad/iPod](https://blogger.googleusercontent.com/img/b/R29vZ2xl/AVvXsEgjIvuMXDrCGIN4F6nculXlhixIilonEYc0EdPhDfJ4ergz8_WO3rmP1PxS63fy3FTiEauUWR24HGtBSGrcSPZzrkhe0TqraOgB0QgGT0F96tlM0DhItskbBOSTZBZIs2uvQ0EChTrqa3fW/s72-c/sing+karoke+smule.jpg)

![[Hack] Subway Surfers v1.14.1 for iPhone/iPad/iPod no Jailbreak](https://blogger.googleusercontent.com/img/b/R29vZ2xl/AVvXsEjy7E06JToKqi45Takgj6jgIx9NZsOvH3Woy6eBtIaHIRMaCqhgnB32BfMT0ajceaOwMnQyiCqrtLvFA_b-8NmxDyRdOdevM23Sy4ShJOkySvBDAICuyHEF0zecjJjoy74j_1enTMnYoKfT/s72-c/subway+surfers.jpg)

0 comments: