[Tutorial] How to create an emoticon cartoon in Photoshop
Create your own emotion with this tutorial in which i will teach you how to create your own emotion in photoshop
Resources needed:
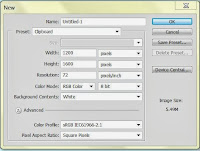 Step 1:
Create a new document in Photoshop.
Width- 1200px
Height- 1600px
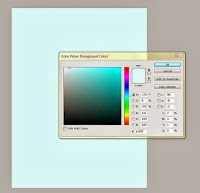 Step 2:
Fill the background with #e7ffff
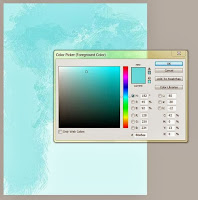 Step 3:
Now we will use the downloaded brush set. Take Sampled Brush 1 3. Change the foreground color to #80e6ea. In the option bar change the opacity to 54%. Now take a new layer and paint it as shown in the image.
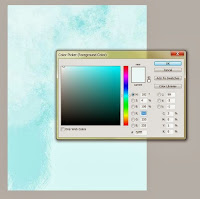 Step 4:
Now take a new brush from the set "mano_3". Change the size to 450px. Change the foreground color to #f5ffff. Start painting.
Step 5:
Take #a25ddd as fore ground color. Paint the page. This color gives sky a naturalistic effect.
 Step 6:
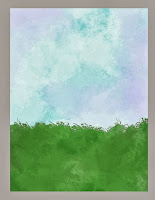
Take a new layer. Call it "grass". Change the fore ground color to #57964d. Take sampled brush 1 12. Change the opacity to 100%. Now paint the grass.
Shade the grass in the same way we shaded sky in previous steps. You can use different brushes.
 Step 7:
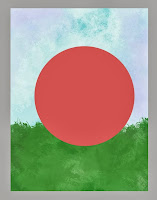
Take a new layer. Call it "circle1". Draw a Circle with elliptical marquee. Fill it with #e05d5d.
 Step 8:
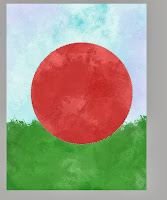
Select the pink circle and fill it with different textures.
Step 9:
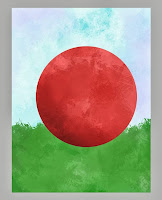
Use Burn tool to create 3D effect.
Step 10:
Use Dodge tool to create highlights.
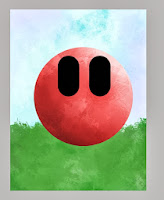 Step 11:
Here I have used Brush tool to create eyes. To create eyes take a new layer. Use brush tool with black as foreground color. Draw the eyes pressing shift key. You get a straight line with shift key.
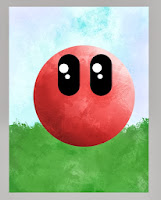 Step 12:
Take hard circular brush to create white spots in the eye. This gives depth to the eyes.
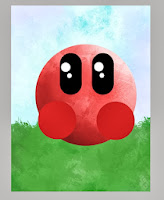 Step 13:
Take a new layer. Draw 2 circles on it. Fill it with pink color.
Step 14:
Texturize the hands.
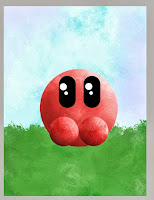 Step 15:
I placed the hands little closer. Again use Burn and Dodge tool to create 3D effect.
Step 16:
Again use brush tool to draw the fingers.
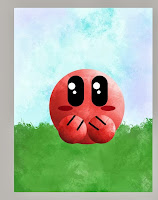 Step 17:
On a new layer, draw an oval using elliptical selection. Fill it with Dark pink. Copy the layer and place ovals on both cheeks. This will create blush effect.
Step 18:
Go to the grass layer. Use Burn tool to create shadows.
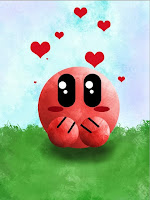
Step 19:
Use Custom shape tool to create hearts. And it is done. Hope you liked it.
Resources needed:
Brushes LINK
 Step 1:
Create a new document in Photoshop.
Width- 1200px
Height- 1600px
 Step 2:
Fill the background with #e7ffff
 Step 3:
Now we will use the downloaded brush set. Take Sampled Brush 1 3. Change the foreground color to #80e6ea. In the option bar change the opacity to 54%. Now take a new layer and paint it as shown in the image.
 Step 4:
Now take a new brush from the set "mano_3". Change the size to 450px. Change the foreground color to #f5ffff. Start painting.
Step 5:
Take #a25ddd as fore ground color. Paint the page. This color gives sky a naturalistic effect.
 Step 6:
Take a new layer. Call it "grass". Change the fore ground color to #57964d. Take sampled brush 1 12. Change the opacity to 100%. Now paint the grass.
Shade the grass in the same way we shaded sky in previous steps. You can use different brushes.
 Step 7:
Take a new layer. Call it "circle1". Draw a Circle with elliptical marquee. Fill it with #e05d5d.
 Step 8:
Select the pink circle and fill it with different textures.

Step 9:
Use Burn tool to create 3D effect.
Step 10:
Use Dodge tool to create highlights.
 Step 11:
Here I have used Brush tool to create eyes. To create eyes take a new layer. Use brush tool with black as foreground color. Draw the eyes pressing shift key. You get a straight line with shift key.
 Step 12:
Take hard circular brush to create white spots in the eye. This gives depth to the eyes.
 Step 13:
Take a new layer. Draw 2 circles on it. Fill it with pink color.
Step 14:
Texturize the hands.
 Step 15:
I placed the hands little closer. Again use Burn and Dodge tool to create 3D effect.
Step 16:
Again use brush tool to draw the fingers.
 Step 17:
On a new layer, draw an oval using elliptical selection. Fill it with Dark pink. Copy the layer and place ovals on both cheeks. This will create blush effect.
Step 18:
Go to the grass layer. Use Burn tool to create shadows.

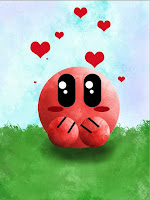
Step 19:
Use Custom shape tool to create hearts. And it is done. Hope you liked it.


![[Tutorial] Halloween Photoshop Manipulation](https://blogger.googleusercontent.com/img/b/R29vZ2xl/AVvXsEh5SyYc6pRrPG15YSBt_Lk8Gs3rJGMhbHSmDuznJYD8WV6CtKvyhPM0aYbFGJYPmPbVuVl_2yZvjmO6TPp9ZVs5vdSLtqvpLJ9ZFAYO-3TCBWH10EbL9o5oT_YXyLDprCVUBQOOkinOMW0L/s72-c/final+preview+for+halloween.jpg)

0 comments: