[Tutorial] Create a Carved Text on the Wood
In this Photoshop Tutorial we will learn how to create carved texts on a wood texture.
Resources needed:
Resources needed:
Step 1
Start by creating a main document (Ctrl+N) with size of 1280 pxl wide and 1024 pxl high.
Start by creating a main document (Ctrl+N) with size of 1280 pxl wide and 1024 pxl high.
 Step 2
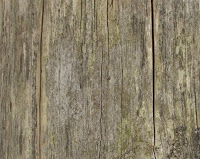
Open the wood texture image on the document. Arrange its size and position it where needed as we prefer. Use free transform tool to do this purpose (Ctrl+T). I created mine like the one illustrated below:
 Step 3
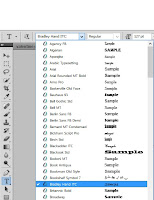
Create a new single document white with the same size as the main one in step 1. Activate type tool and echoose Bradley Hand ITC font with which we are going to create texts. Make sure we have downloaded and installed the fonts.
 Step 5
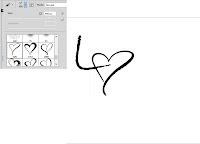
Create a new layer (Ctrl+Shift+N) and activate the brush tool. Make sure the heart brush is already installed and choose one of the heart brushes in the brush preset picker. We will use the heart shape instead of the O in love:
Step 7
With smaller size of the font, type more words to finish the text. Select all the text layers and hit Ctrl+E to merge them into a single layer.
With smaller size of the font, type more words to finish the text. Select all the text layers and hit Ctrl+E to merge them into a single layer.
 Step 8
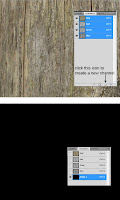
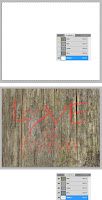
Go back to the main document and select the wood layer. Activate the channel beside the layer panel and create a new channel by clicking the icon in the bottom of the panel. When the icon is clicked, there will be a new channel called as alpha 1 filled with black.
 Step 10
Go back to the text layer. Select the text layer and copy to be pasted on the alpha 1 channel. Make sure we have select the channel (Ctrl+A) before we paste the text. Now the wood will be filled with red texts:
Step 11
Next, with the wood layer selected, go to filter > render > lightning effects. Here is the setting of the filter:
Next, with the wood layer selected, go to filter > render > lightning effects. Here is the setting of the filter:
Step 12
Finally, to see the result of the filter effect, hide the alpha 1 channel. Here is the result should be:
Finally, to see the result of the filter effect, hide the alpha 1 channel. Here is the result should be:
 Step 13
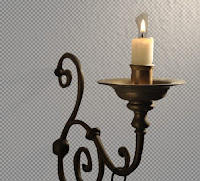
In this step, we will add a candle to the main document. Open the candle image and extract the candle from its background. The best way to do this is using the pen tool. Here is the extracted candle I created:
Step 14
Add the candle to the canvas. With free transform tool, scale the size of it and position it where desired.
Add the candle to the canvas. With free transform tool, scale the size of it and position it where desired.
 Step 15
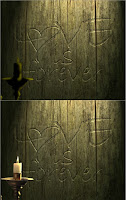
Create a new layer above the candle and make sure to create this new layer a clipping mask. Set this new layer to color dodge blending at 100% opacity. Now activate brush tool and choose a very soft round brush. Set the opacity of the brush to 5%. With bright yellow, stroke the brush on the edges of candle image.
 Step 16
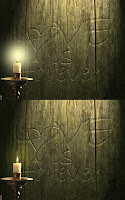
Then, create a new layer below the candle layer. Set the foreground color to # fdfcbf and with a very soft round brush, paint the color. Finally, set this layer to overlay blending at 100% opacity.
 Step 17
To give more vivid light, duplicate the light layer (step 16) one time and keep the duplicate with overlay blending at about 80-100% opacity.
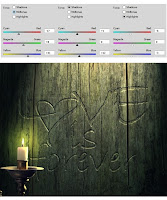 Step 18
Now go to layer > new adjustment layers > color balance. See the screenshot below to see the setting and make this adjustment layer to normal blending at 70% opacity.
Step 19
Give another adjustment layer to the scene: curves.
Give another adjustment layer to the scene: curves.
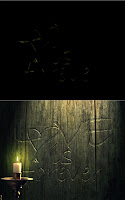 Step 20
Finally, create another new layer above all the other layers. Fill (Shift+F5) this layer with black and set its blending to color dodge at 100% opacity. Activate the brush tool and choose a very soft round brush at 5-7% opacity. With bright yellow, stroke the brush to some parts of the texts to give more highlight:
Final Result


0 comments: