[Tutorial] Create a Speedometer Icon in Photoshop
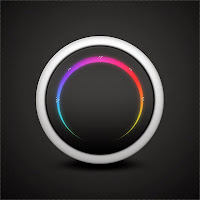
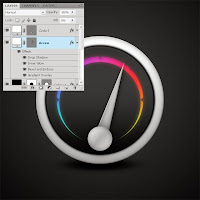
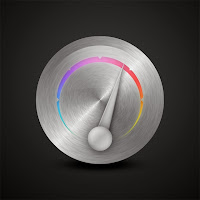
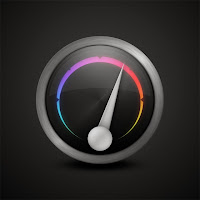
Hello trickytuts.com readers, here's a new Photoshop Tutorial on how to create a Colored Metal Speedometer Dock Icon, we'll learn how to create this icon using a lot of layer styles, brushes and the Ellipse Tool.
Step 1 - THE New Document and Background Gradient
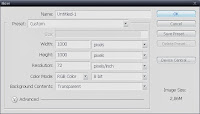
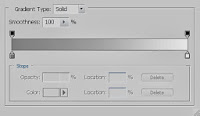
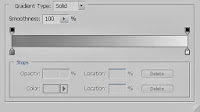
Start by opening photoshop and create a new document, I choose 1000x1000px with a transparent background. Then fill the background with a Black and Dark Grey Radial Gradient using the Gradient Tool (G), when you've created the gradient rename the layer Background.
Step 2 - Circle 1
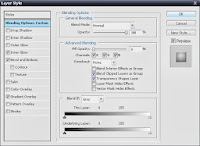
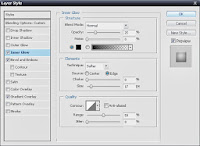
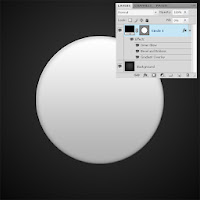
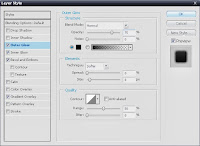
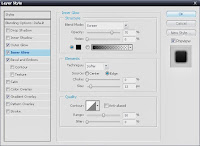
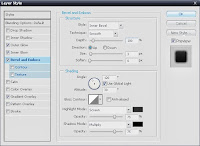
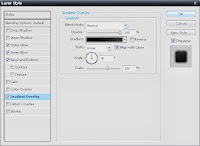
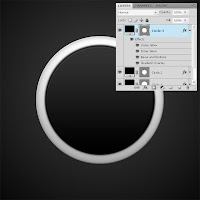
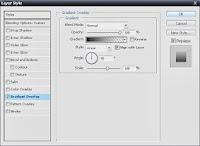
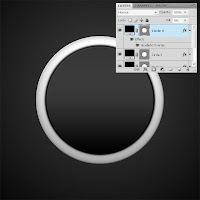
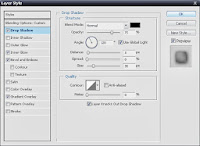
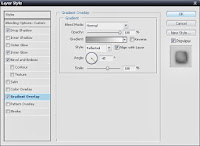
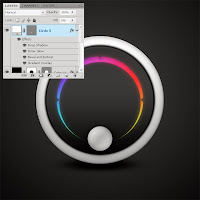
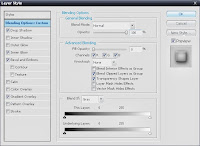
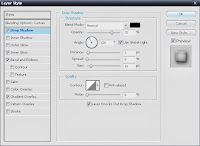
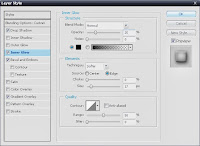
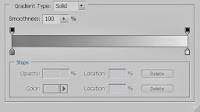
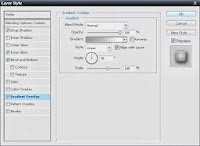
Select the Ellipse Tool (U), and create a circle in the middle of the canvas, rename the layer Circle 1. Next let's add some effects on this circle using some Layer Styles, double click on the Circle 1 layer and enter those values:
Step 3 - Circle 2 and 3
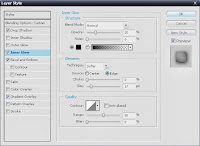
Select the Ellipse Tool (U) again, create an other circle this time smaller than the first one, rename the layer Circle 2 then add some Layer Styles on this circle with those values:
Duplicate the Circle 2 layer; rename the new one Circle 3. Use the Free Transform Tool (Ctrl+T) to downsize the new circle 1% so it's just a bit smaller than the original circle.
Step 4 - Circle 4 and Shadow
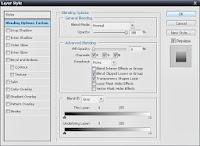
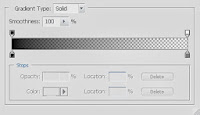
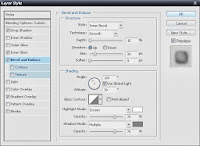
Duplicate the Circle 2 layer again, place the new layer in front of all the other layers, rename it Circle 4, Next we'll add some other Layer Styles on this layer, before that we'll have to delete the existing layer styles on this duplicated layer, right click on the layer and select Clear Layer Style. Next add some new Layer Styles on this layer with those values:
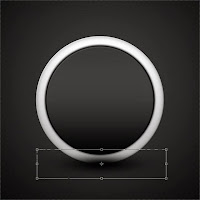
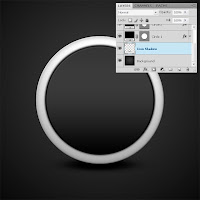
Let's add a shadow under the icon, create a new layer, select the Brush Tool (B) with a soft rounded brush of about 500px, black for the colour and paint a big soft circle in the middle of the canvas, then move and resize this circle using the Free Transform Tool (Ctrl+T) so it looks like a shadow under the speedometer icon. Rename this layer Icon Shadow and place it between the Background and Circle 1 layers.
Step 5 - Colour Circle
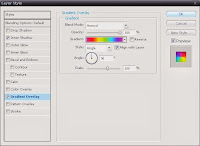
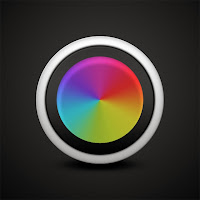
Let's add some colour on the icon. First create a new circle in the middle of the icon using the Ellipse Tool (U), rename the circle layer Color and add some Layer Styles with those values:
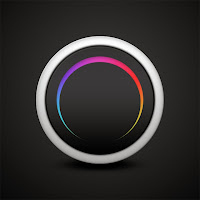
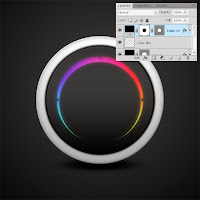
Next select the Elliptical Marquee Tool (M), create a selection a little bit smaller than the coloured circle, we'll use this selection to hide some parts of the coloured circle. When you like the selection create a Layer Mask on the Color layer, Layer - Layer Mask - Hide Selection, you should have this result:
Step 6 - Color Blur and Marks
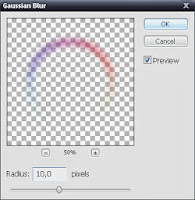
Duplicate the Color layer, then create a new layer, select both new layers (the duplicated Color layer and the new layer) and merge them. Rename the new layer Color Blur. Apply a Gaussian Blur filter with a 10px Radius, Filter - Blur - Gaussian Blur. Place the Color Blur layer under the Color layer; change its Opacity to 50% and its Blending Mode to Color Dodge.
Select the Polygonal Lasso Tool (L) and create some small triangles selection on the Color circle, when you like the small triangles, select the Layer Mask on the Color layer, and fill the small triangles selections with black.
Step 7 - Circle 5
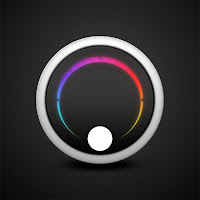
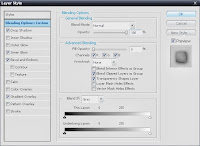
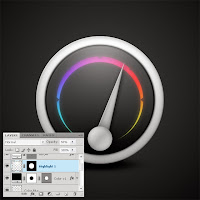
Let's create the circle that will hold the arrow in the speedometer. Select the Ellipse Tool (U), create a small circle in the bottom middle part of the icon, rename this layer Circle 5 and add some Layer Styles on it with those values:
Step 8 - Arrow
Select the Pen Tool (P), create a long triangle shape that will make the arrow, rename this layer Arrow and place it under the Circle 5 layer. Use the Free Transform Tool to rotate the arrow. Next add some Layer Styles on the Arrow layer:
Step 9 - Highlight 1 and 2
In this step we'll add some highlights on the icon, create a new layer, rename it Highlight 1, then select the Brush Tool (B) with a soft rounded brush of about 300px and white for the colour, paint a soft circle in the middle top part of the icon. When you like the result, we'll need to create a Layer Mask to hide some parts of the Highlight using a selection from the circle in the Circle 2 layer, to make this selection, go on the small thumbnail next to the Circle 2 layer and press Ctrl+Left click on this thumbnail, this will create the selection we need. Reselect the Highlight 1 layer and create a Layer Mask, Layer - Layer Mask - Reveal Selection. Place the Highlight 1 layer between the Arrow and Color layers and change its Opacity to 50%.
Select the Ellipse Tool again and create a white circle smaller than Circle 2, rename this new circle layer Highlight 2. Select the Elliptical Marquee Tool and create a horizontal oval selection of the bottom part of the circle we just created. Create a layer mask on the Highlight 2 layer with this selection, Layer - Layer Mask - Hide Selection. Change the Opacity of this layer to 5%.
Step 10 - Metal Texture
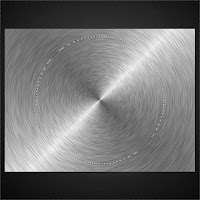
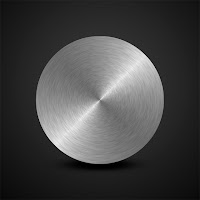
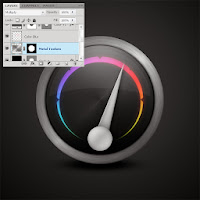
For the final touch on the Icon I wanted to give a nice metal effect so I used a Metal Texture I found on deviantART called Circular_Silver_by_Savage_Stock. When you've downloaded the texture open it in Photoshop and drag into the Icon document. I just want the metal to be on the icon not on the background. Make a selection of the Circle 1 layer then create a layer mask on the texture layer. To finish rename the texture layer Metal Texture, change its Blending Mode to Multiply and place this layer between the Color Blur and Circle 4 layers.
That's it for this tutorial guys, I hope you've learned new tricks and techniques, you can see that just using a lot of layer styles and shapes you can create some nice looking icons. If you've got any questions or need help leave me comment.
Download PSD

























![[HACK] Subway Surfers Unlimited Coins (No Root)](https://blogger.googleusercontent.com/img/b/R29vZ2xl/AVvXsEjxXdVCStQjVqqu8moIKz7jF2LmqecaaWVrsFUP4JAbzDueqPH9lfRzlPd4VdBltin1SKN43JLHm26Uq-zcLEv-x2UdgDhk855qs5AQsaH9YazhEZj0HSV2T1PeQ3iVSH-s7mDIoArejlc8/s72-c/subway1.png)

![[HACK] Solar Walk (all versions) NO JB For iPhone/iPad/iPod](https://blogger.googleusercontent.com/img/b/R29vZ2xl/AVvXsEjgz5klBBERwpxf9nzMsl-BD33zwHlpumL7-12Mdj_TNs9BGweteeYDS5C6CrRqsQAlGLP_WRO6L5FDUnpJatOhR0YQ4PdZ5aeLbrSgZjjhNwTcgL2-8nV_QsTNxvYRjKjConWv6kCxk_u5/s72-c/solar-system.jpeg)

![[Tutorial] Halloween Photoshop Manipulation](https://blogger.googleusercontent.com/img/b/R29vZ2xl/AVvXsEh5SyYc6pRrPG15YSBt_Lk8Gs3rJGMhbHSmDuznJYD8WV6CtKvyhPM0aYbFGJYPmPbVuVl_2yZvjmO6TPp9ZVs5vdSLtqvpLJ9ZFAYO-3TCBWH10EbL9o5oT_YXyLDprCVUBQOOkinOMW0L/s72-c/final+preview+for+halloween.jpg)
0 comments: